.png?width=420&height=80&name=The%20smart%20floor%20plan%20(1).png)
Capturing a New Floor
You can capture multiple floors simply by continuing your capture! The tool automatically detects when you move to a higher level and creates the plan for the new floor.
Tips for an Optimal Capture
-
Start capturing in the room at the bottom of the stairs, including the area near the staircase.
-
Continue capturing as you walk up the stairs.
-
Begin capturing the first space at the top of the stairs before finishing the capture zone.
This method helps the tool better recognize that a new floor should be created.
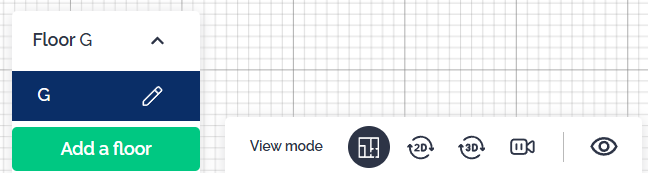
Adding a Floor Manually
If you do not perform a capture, you can also add a floor manually:
-
Click on the button displaying your floor’s name at the bottom of the page.
-
Select "Add a floor".
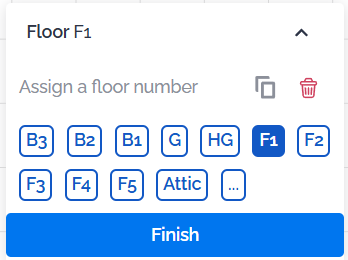
Renaming a Floor
-
Click on the small pencil icon to the right of the floor’s name.
-
Choose a name from the list or enter a number if the floor exceeds F5.
-
Click "Finish" to save.